Good morning! Ardyth here with some tips for inlaying die cuts. I love the look of inlaid die cuts - they are like little puzzle pieces that fit perfectly in the spot you create for them.
There are easier and trickier inlaid die cut techniques - this card has 3 examples - from extremely simple to a little bit fussy.
General tips:
1. Cut the piece you will inlay first. Have it ready.
2. Cut out the 'hole' in your panel. Have a place to keep the 'bits'.
3. Have a sticky surface to put the inlaid die on. I often use tape on the back of the panel, but you can have your mat layer sticky as well.
Let's start with the silver frame - it's the easiest.
Glitter paper is not cheap. To conserve it, I made a frame rather than using a whole layer of the silver glitter paper. I used 2 rectangle dies. I taped them together and ran them through at the same time so that I could ensure that the frame was even. I now have a smaller rectangle of glitter paper to use on a future project, and the silver/white panel is flat. I tape them together on the back (but only on one end, since I will be cutting the holly out of the other side).
Next - Merry.
1. Cut the Merry in silver.
2. Cut the Merry out of the white panel. Do not lose the centres to the letters (e, r, r, y)
3. Turn the white panel over. Place tape on the back so that the sticky surface shows through.
4. Lay the silver Merry in. Use tweezers (or a jewel-picker) to place the letter centres. (if you've lost them, you can cut another Merry and replace them that way)
5. Turn the panel over. Use a bone folder to run over the back of the inlaid die to make sure everything is adhered securely.
Finally, the holly.
It's a little trickier because I cut it out to extend beyond the edge of the panel. The same principles apply, but it is critical that you do not lose the pieces because they are unique to this cut.
1. Cut the holly in white
2. Cut the holly out of the silver/white panel - keep all the pieces.
3. Flip it over and start putting the 'puzzle' back together. Use tape as required.
4. Use the bone folder to run over the back
5. Flip it back over and pat yourself on the back for making such a beautiful card!
If inlaid dies is not your thing, that's fine! Just adhere the dies on top of your panel and your card will be just as pretty!
If inlaid dies is not your thing, that's fine! Just adhere the dies on top of your panel and your card will be just as pretty!
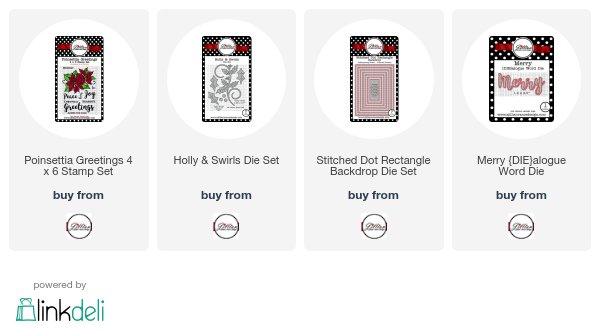
A Jillian Vance Design products used:

Other Products Used:
White cardstock, red cardstock, grey cardstock
Silver glitter cardstock
Black ink


1 comment:
this is gorgeous and I love the inlaid look!
Post a Comment