Happy last day of June everyone! Rosemary here today. Since 4th of July is just a few days away I had wanted to make a 4th of July card, but I discovered that a stamp set that I thought I had I did not actually have and there was not enough time to order it from AJVD. I'm a little bummed, but thankfully I had another project to share today that has been ready to go for a few weeks now. Both these cards were created using just the new Sweet Sunflower die set.

When I had previously posted the two cards I made with the Sweet Sunflower die set and coordinating stamp set I had indicated that both those cards were inspired by other cards I had made. Well these are the cards that inspired the other cards! When I got the Sweet Sunflower die set I knew I wanted to make a shaped card with them. The main die is large enough to create a shaped card with it. You simply create a card base and then place the main die on the card front making sure to allow the die to hang past the fold. That way when you die cut the card you still have a small amount of fold (or hinge) left. Hope that makes sense. I created the card that is made with the cardstock and brown glitter cardstock first. I die cut the main sunflower from a light yellow and then the outline from a slightly darker yellow. I cut multiples of the outline to build up dimension. The contrast is pretty subtle. I die cut the card base from kraft cardstock and adhered the yellow sunflower to the front. The brown glitter cardstock was die cut and then I used the circles left over from die cutting the outline to add to the center so that there was the yellow showing through and to give the center more stability. The pieces for the leaves were die cut from the same color cardstock, adhered and then I attached the leaves to the inside of the card where you would write your note.

After I made the first card I realized I had made a little mistake. I wasn't paying attention to how the card would stand after I die cut it. When you try to stand the card up is rolls over to the side. Because I wasn't happy with the contrast between the yellow cardstock I used I decided to remake the card and remembered that I had this fun polka dot patterned paper from Stampin Up! (it is about 10 years old so no longer available). Thankfully I still had some of the yellow. Followed the same basic procedure for creating the card just this time I got it right so that the card stands correctly! I also adjusted where I adhered the leaves. This time I adhered then to inside of the front of the card (hope that makes sense!). I also decided to not put a sentiment on either card as I thought they were pretty cute just as they are. Going to add these to the Simon Says Stamp Wednesday challenge of anything goes.
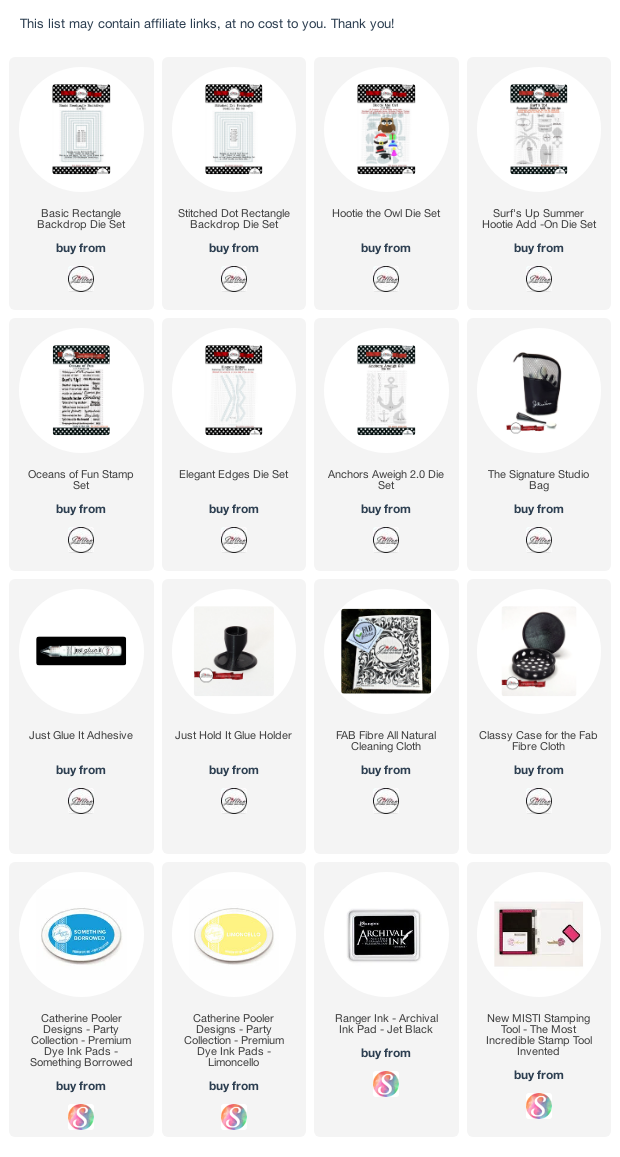
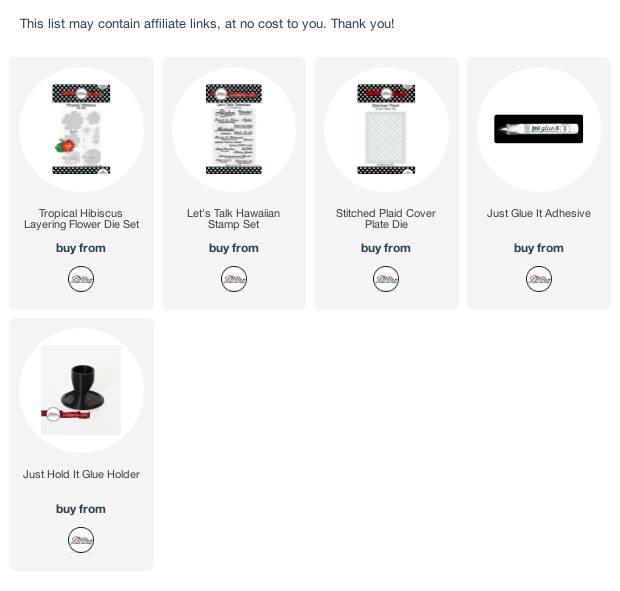
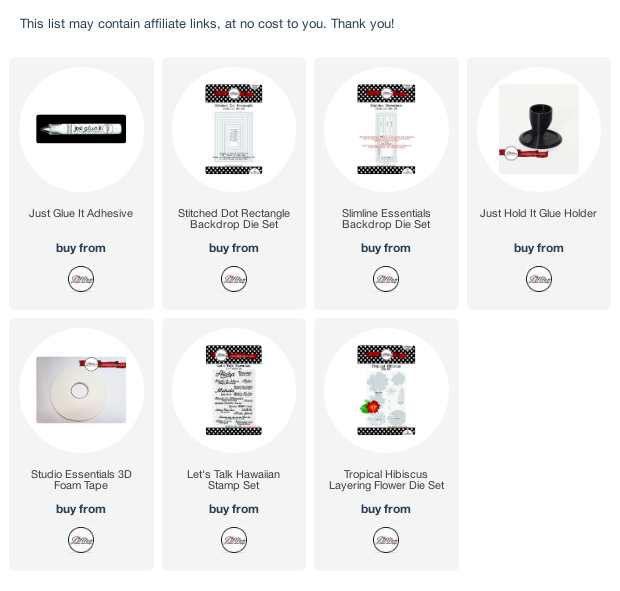
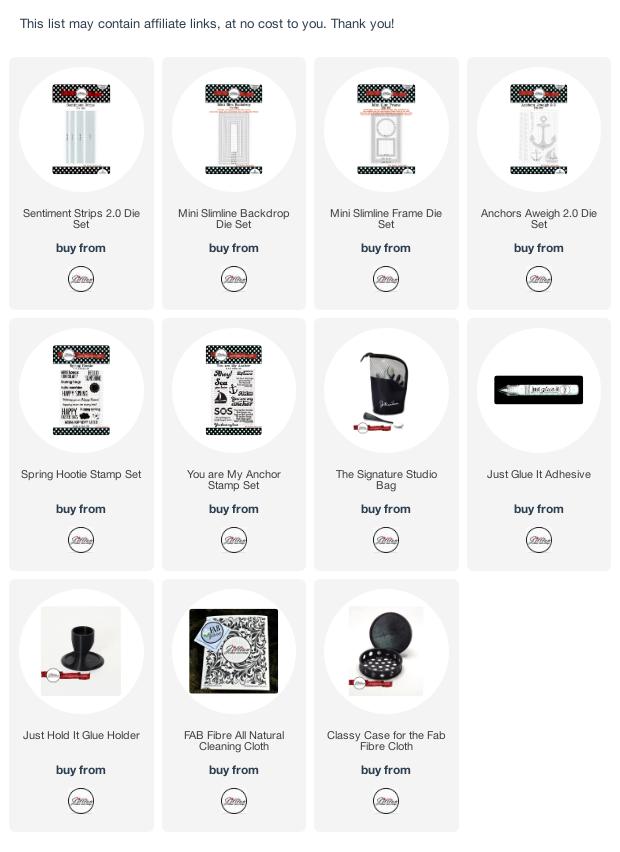
A Jillian Vance Design products used:
Thanks for stopping by and have a fun 4th of July!
Rosemary
Follow A Jillian Vance Design on: