Hello and happy Wednesday! Rosemary here with a card made using the new Pumpkin Create A Card die set, as well as some older (but still awesome) floral dies! Even though the Pumpkin Create a Card die set was designed so you can make shaped cards with it I show you how you can still use it for the front of a regular A2 sized card.

So when I originally started to make this card I was going to use patterned papers. I even die cut the pumpkin, leaves and flowers from the patterned paper, but as I tried to put things together I just didn't like it... at all! So I decided to die cut everything from cardstock. There is a leaf included in the die set, but I decided to use two leaves from the older Leaves & Petals die set. The flowers were cut using the smaller flower from the Fringe Flower die set and the medium and small daisies from the Daisy die set. I found Copic markers colors to compliment the colors of cardstock that I used to die cut the flowers, leaves and branches from and then did very simple coloring. The branches were die cut using the Budding Branches die set. I die cut the pumpkin, as well as the center section and the stem and colored those pieces with Copic markers. The flowers were assembled with centers cut from the same cardstock as the pumpkin base and then I adhered everything to my pumpkin. Even though the pumpkin is quite large it still fits nicely on the largest basic rectangle die and then on the front of an A2 sized card. I was going to create a little tag, but decided I didn't have a good spot for a tag so I stamped the sentiment from the Pumpkin Spice stamp set, die cut it with a label die from the Slimline Essentials die set and adhered it to the pumpkin. I love how this fall themed card turned out! Adding this to the Simon Says Stamp Wednesday challenge of anything goes.
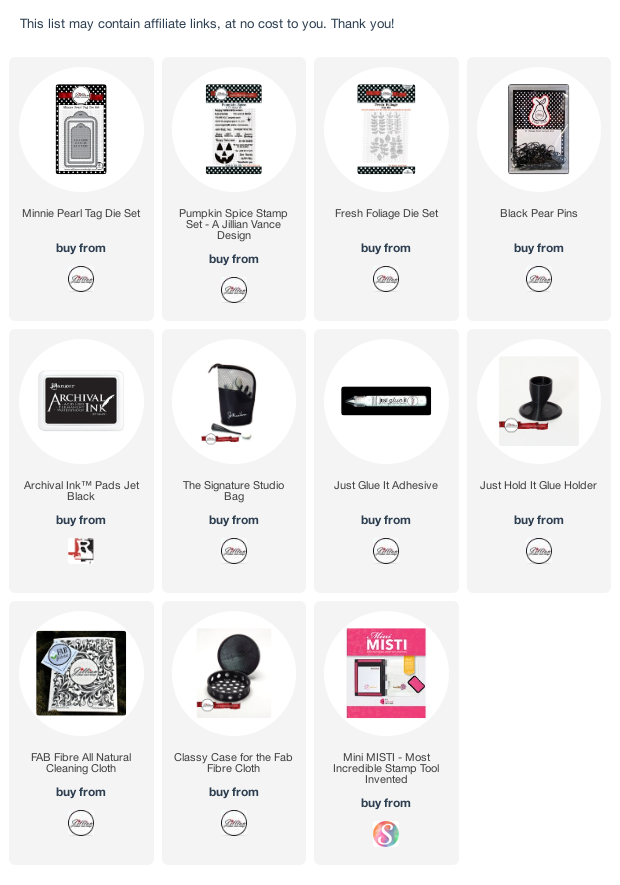
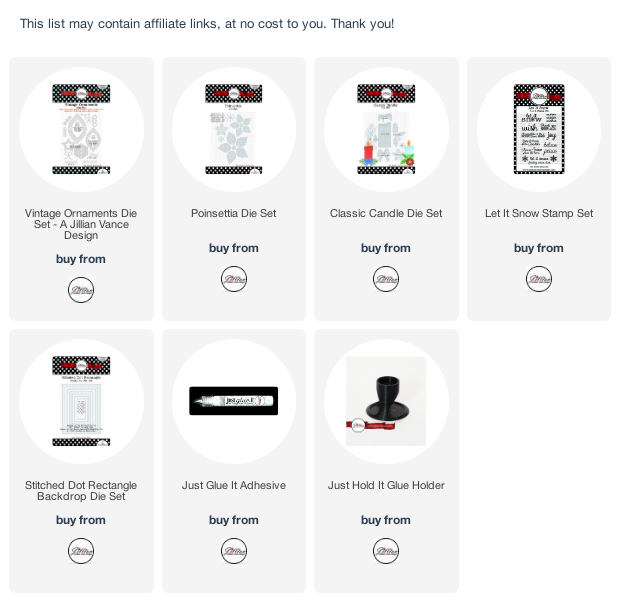
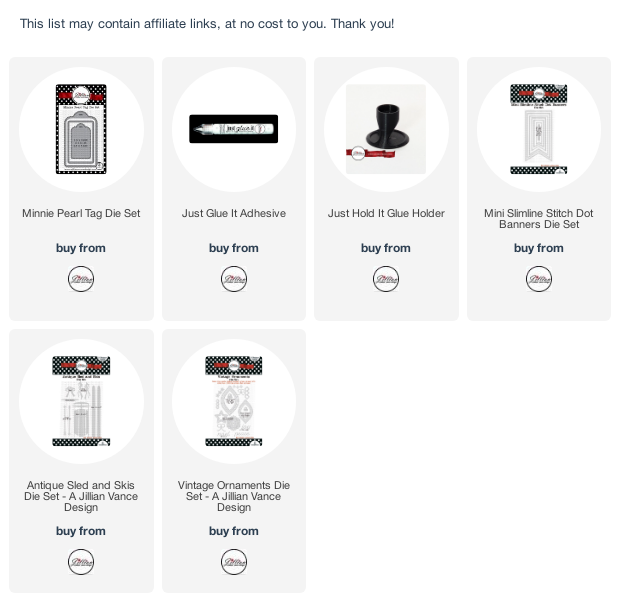
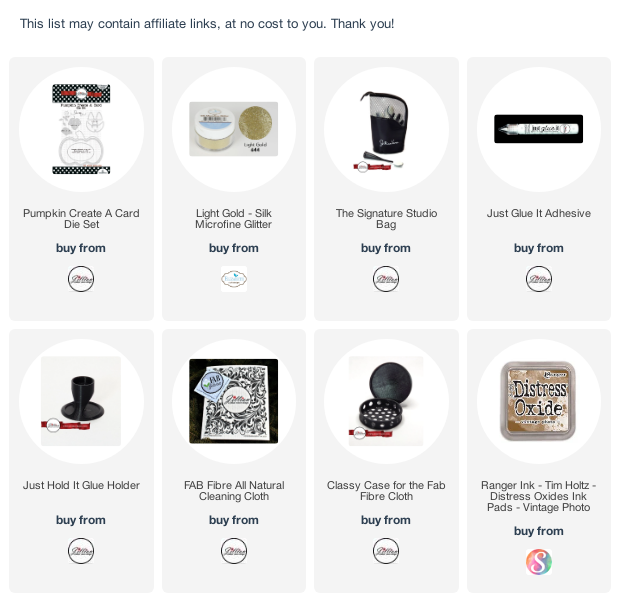
A Jillian Vance Design products used:
Thanks for stopping by and have a great day!
Follow A Jillian Vance Design on: